
Last updated on December 1st, 2024 at 03:14 pm
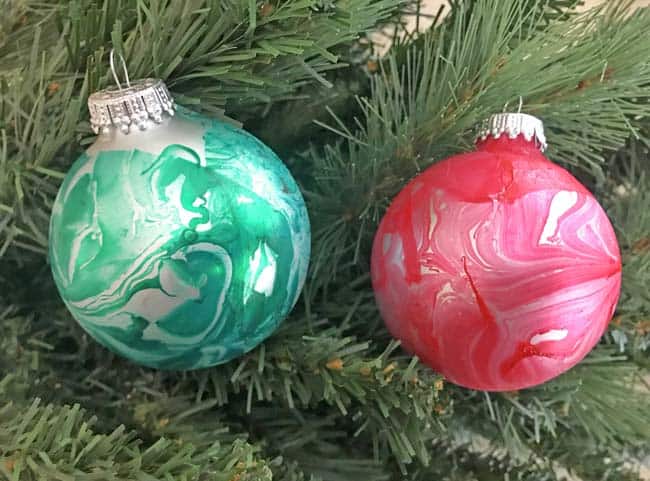
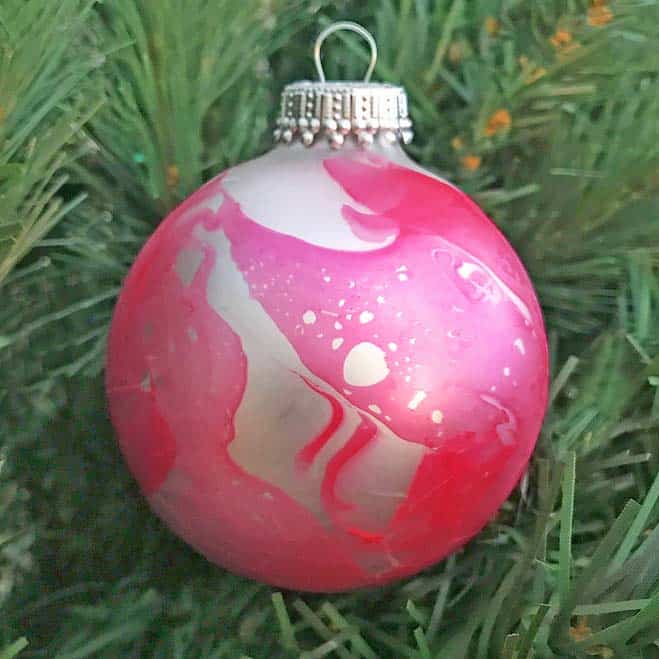
Here’s a fun holiday craft you can make with just a few simple, inexpensive materials – pretty marbled Christmas ornaments.
In less than an hour, you can craft several of these pretty ornaments that will perfect for holiday gift giving or hanging on your Christmas tree.
Here’s all you need to make your own pretty, swirly holiday ornaments:
- A disposable container
- Room temperature water
- Good quality nail polish
- Toothpick
- Glass round ornaments
- Needle-nose pliers (optional)

You can use any color of ornament you like. I ordered these matte and shiny silver glass ornaments.* I also marbleized some old ornaments for practice, which you may want to do, too.
Step by Step Instructions
Here’s the process for DIY marbled Christmas ornaments:
Carefully remove the ornament hanger from the ornament and have the needle-nosed pliers nearby. Removing the hanger allows you to marbleize up to the top of the ornament and keep the hanger clean. If you don’t care about that, you can simply leave the hanger on and hold it while dipping.
Cover your table with newspapers or other protective covering. Fill your container with room temperature water. Make sure it doesn’t feel warm or cool to the touch.
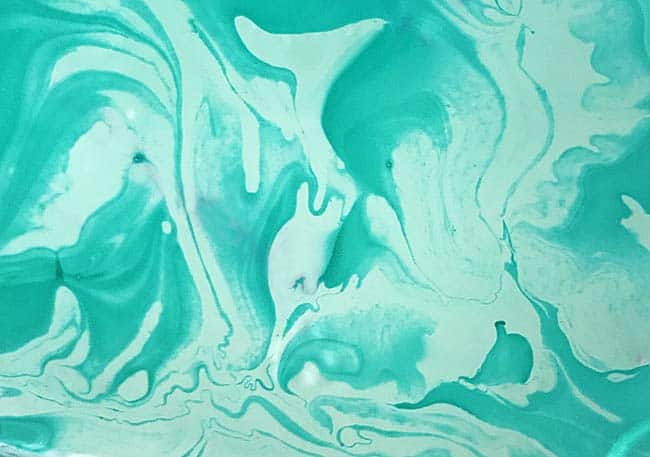
Drip a few drops of nail polish on the water. It will spread out on the surface of the water. Immediately swirl lightly with a toothpick.
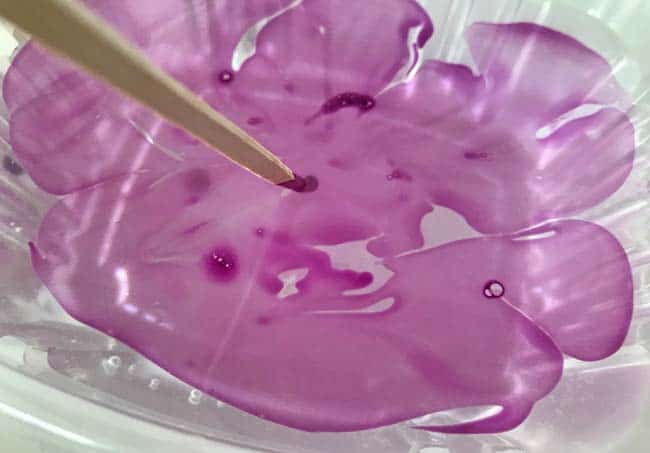
After you drag the toothpick through the nail polish floating on the water, you’ll have a pretty design.
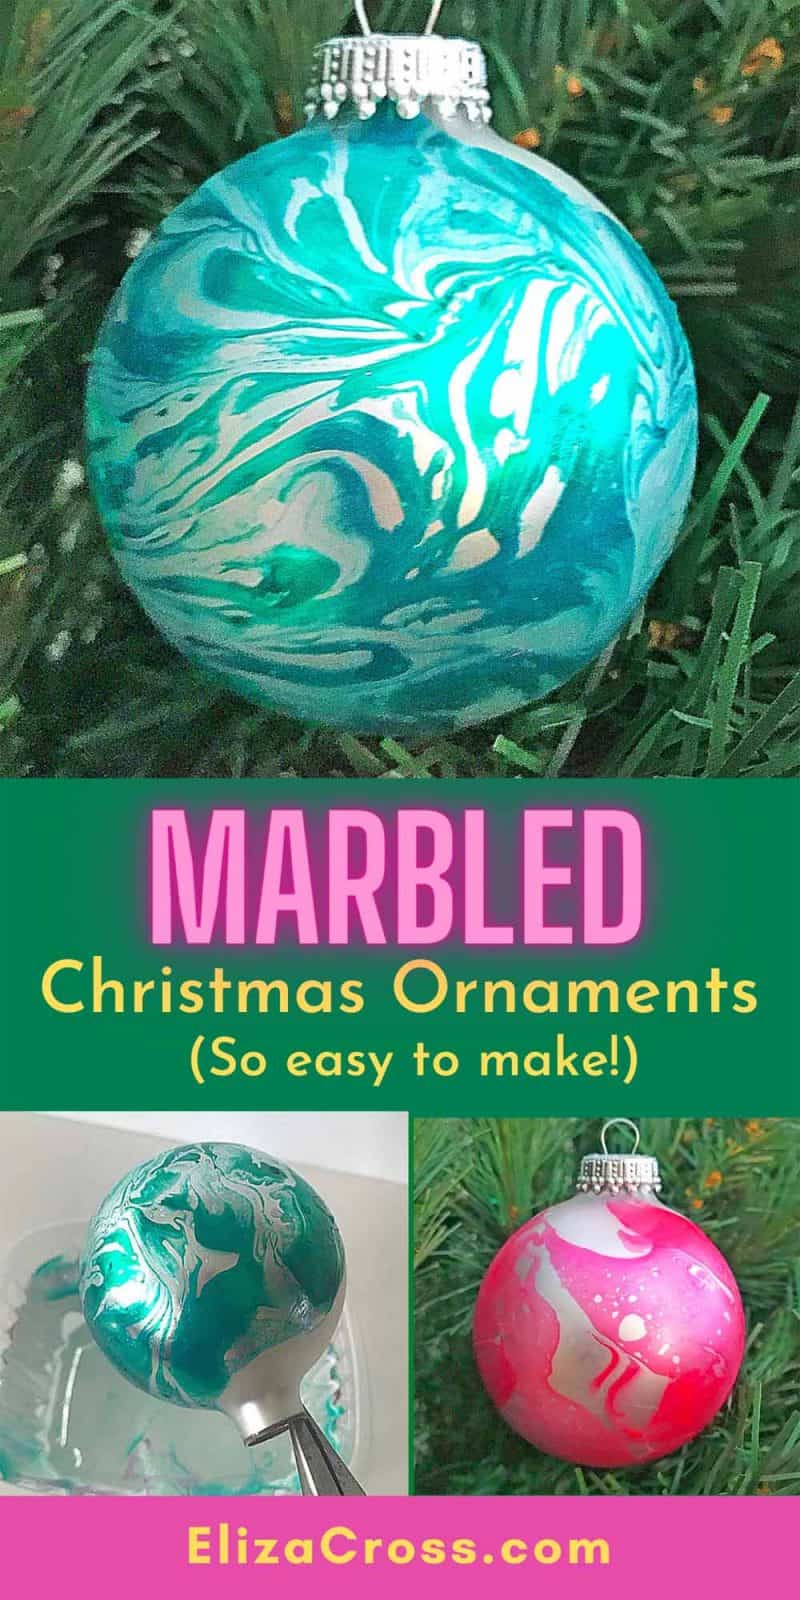
Using the needle-nosed pliers to hold the ornament, quickly dip in the mixture, rolling it slightly to cover one side. Depending on the size of the ornament, you may need to do this process 2-3 times.
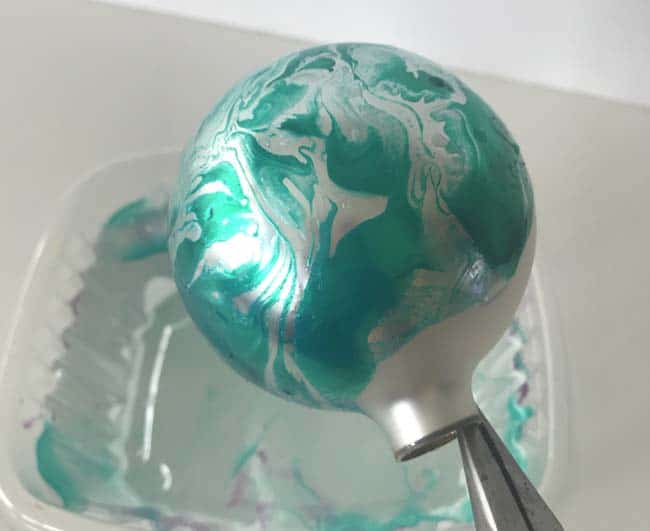
Blow on the ornament for a few minutes and carefully place it on the paper to dry, using the stem as a little stand. If you left the hanger on, you can put a paper clip or ornament hanger through the loop and hang it in a safe place to dry. Repeat until the outside is fully marbleized.

Tips for Marbling Success
The water temperature is important. If it’s too cold, the nail polish won’t dissipate enough to swirl and make the pattern. If it’s too warm, the nail polish will dissolve and spread into a pale, disappointing wash.Â
Cheap nail polish didn’t work for me. I tried a bottle of the 99 cent kind, but it didn’t have enough pigment to have any staying power when I dropped it in the water.
If you’re using an older bottle of nail polish that has thickened, put it in a glass of very hot water for a few minutes first. That will help it be more pourable.
Don’t worry if the designs on your marbleized Christmas ornaments aren’t perfect. Some may be more swirly and others may be more mottled, but the handcrafted look adds to their charm!
Save for Later
If you use Pinterest to save and share ideas, here’s a handy pin:
I love sharing your creations. If you make marbled ornaments and post a photo, tag me on Instagram at @elizacross or #elizacross.

Eliza Cross is an author and food blogger who enjoys helping busy people with easy recipes and tips for gardening, holidays, and home. She is the founder of BENSA Bacon Lovers Society and Happy Simple Living, and the award-winning author of 17 cookbooks.
What a fun and creative holiday project to do with kids (or by yourself) Bet it’s so satisfying dipping and watching it adhere to the bulb! Pinning!
Thank you, Kathleen! I was truly shocked when I tried the process and it actually worked! Thank you for pinning this and sharing with your GINORMOUS Pinterest following! You are the best. xxoo
On Thanksgiving we always do a Christmas craft. This is going to be a perfect one for this year!
I’m so glad, and hope you have fun making the ornaments! I love how each one is unique. ~Eliza
This sounds like a great Christmas craft, can it be done with the clear plastic ornaments from the dollar stores?
Thank you, LouAnne. I haven’t tried this with plastic ornaments so I’m not sure if the nail polish would adhere as well as it does to the matte glass ornaments. If you decide to try it, will you come back and report on your results? Thank you and happy holidays to you!
Very pretty, have you tried couple different colors in the same bath of water ? Why does the blue ornament have white and blue nail polish?
Thank you, Susan. I haven’t tried two colors, but it seems like it would work if they were the same consistency in the water and not swirled together too much. The ornaments I used are a frosted pale silver, and they may be appearing white on your device.
I followed your directions but wasn’t satisfied with the results, so I made a modification. I skipped the water bath entirely and drizzled nail polish in patterns and twirled the bulb to enhance the design. Easy! I loved the effect of pouring glitter polish. Less mess; better results.
Pamela, thank you for stopping by to share your modification. I bet your glittery ornaments are so pretty, and hope you have a very happy holiday season.